.
Pin cho iPhone - EUtev
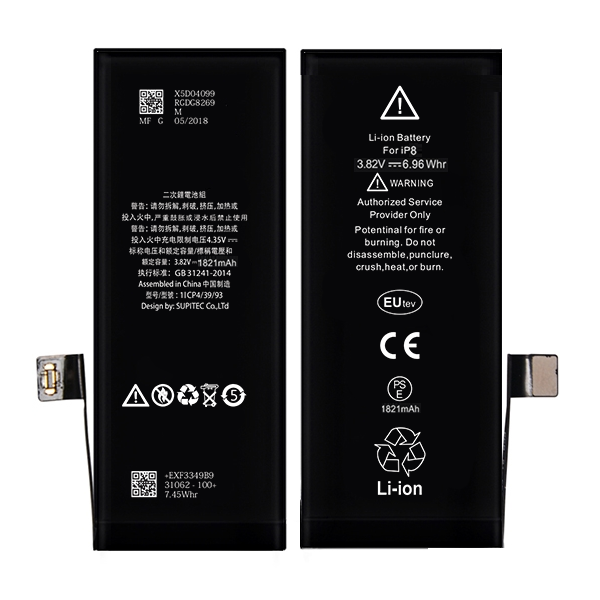
Pin cho iphone 8G
Giá bán lẻ đề xuất:
550.000 VNĐ
Pin iphone thay thế cho model iPhone 8G
Điện áp sạc: 4.35V
Điện áp danh định: 3.82V
Dung lượng định mức: 1821mAh
Thời gian sạc tiêu chuẩn đầy pin : 3 giờ - thời gian sạc nhanh đầy pin: giờ
Các bước hướng dẫn thay thế pin iphone


