.
Pin cho iPhone - EUtev
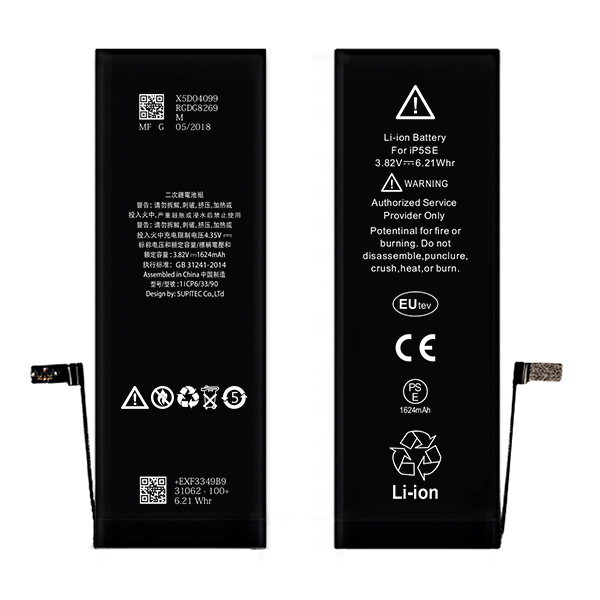
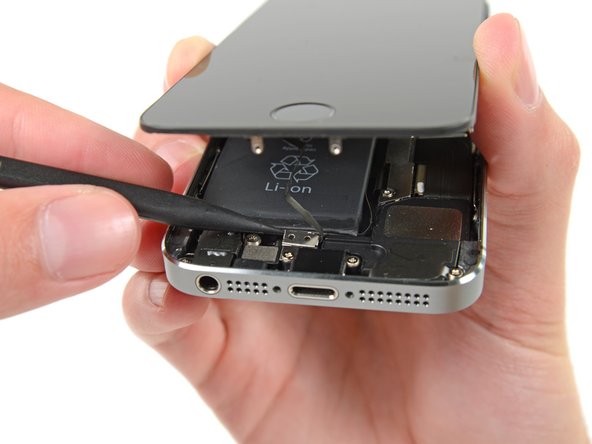
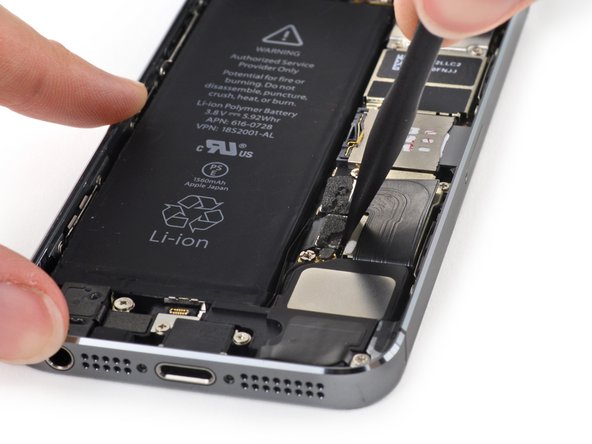
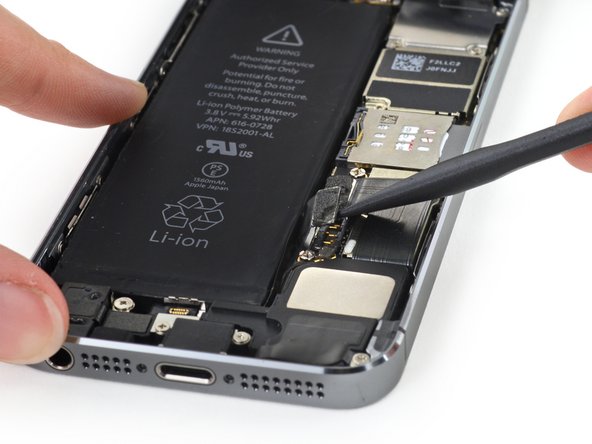
Pin cho iphone SE
Giá bán lẻ đề xuất:
350.000 VNĐ
Pin thay thế cho Model iphone SE
- Được thiết kế chuẩn dung lượng Iphone SE
- Áp dụng công nghệ chuẩn pin Li-on Polyme.
- Chuẩn CE Châu Âu, trọng lượng pin nhẹ.
- Chống cháy nổ, an toàn tuyệt đối.
- Dung lượng: 1624 mAh
- Nguyên liệu: Li-ion polymer
- Vòng đời sản phẩm :Trên 1000 lần sạc
Bảo hành 12 tháng lỗi 1 đổi 1
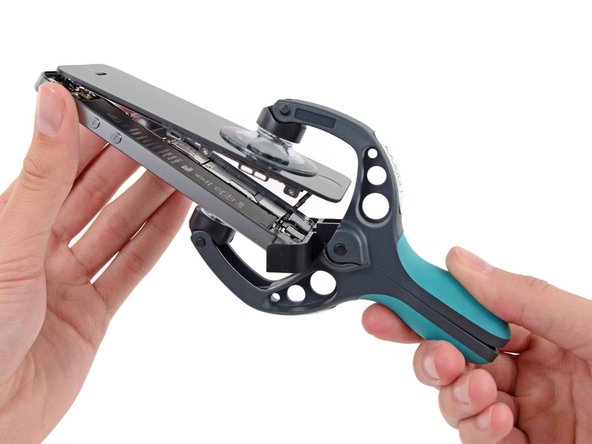
Hướng dẫn thay thế :